为什么去做?
诚然, Hexo 为我们提供了快速易懂搭建个人博客的选择,但由于个人英文水平实在有限,尤其需要通过 Markdown 的文件标题来描述每篇文章都是什么内容这情况下,使用蹩脚的英文去命名每篇博客,我总是觉得有些难受,而偏偏 Hexo 生成的 Html 文件名称,就是由 Markdown 文件名称来决定的,中文的 URL 显示在地址栏中,未免有些别扭。源于这些原因,我决定使用自己的规则来生成 Html 文件名称。
原则
主要有两个点:
- 生成的 Html 静态网页不能每次执行
hexo generate时都发生改变 以免影响到已经分享出去的文章
- 维持现有的功能,如 Tags、Categories 下的文章 href 链接
实现
按规则生成 Html
Html 生成的触发操作是hexo generate,首先我们要找到这个操作的入口
1
2
3
4
5
6
7
8
| > which hexo
/Users/verycooltop/.nvm/versions/node/v10.16.3/bin/hexo
> cat /Users/verycooltop/.nvm/versions/node/v10.16.3/bin/hexo
#!/usr/bin/env node
'use strict';
require('hexo-cli')();
|
然后,我们再到 hexo 所在目录下的 node_modules 下的 hexo-cli
1
2
3
4
5
6
7
8
9
| > cd /Users/verycooltop/.nvm/versions/node/v10.16.3/bin/
> ll
total 81632
# ...
lrwxr-xr-x 1 verycooltop staff 33B 10 18 16:54 hexo -> ../lib/node_modules/hexo/bin/hexo
> cd ../lib/node_modules/hexo/node_modules/hexo-cli
> pwd
/Users/verycooltop/.nvm/versions/node/v10.16.3/lib/node_modules/hexo/node_modules/hexo-cli
|
找到 hexo-cli main 入口文件
1
2
3
4
5
6
7
8
9
10
11
12
13
14
| > cat package.json
{
"_from": "hexo-cli@^3.0.0",
"_id": "hexo-cli@3.1.0",
...
"main": "lib/hexo",
...
"scripts": {
"eslint": "eslint .",
"test": "mocha test/index.js",
"test-cov": "nyc npm run test"
},
"version": "3.1.0"
}
|
hexo-cli/lib/hexo.js 最终使用的 hexo 模块还是我们自己博客项目下的 node_modules/hexo 模块
1
2
3
4
5
6
7
8
9
10
11
12
13
14
15
16
17
18
19
20
21
22
23
24
25
26
27
28
29
30
31
32
33
34
35
36
37
38
39
40
41
42
43
44
| 'use strict';
const chalk = require('chalk');
const tildify = require('tildify');
const Promise = require('bluebird');
const Context = require('./context');
const findPkg = require('./find_pkg');
const goodbye = require('./goodbye');
const minimist = require('minimist');
const resolve = require('resolve');
const camelCaseKeys = require('hexo-util/lib/camel_case_keys');
class HexoNotFoundError extends Error { }
function entry(cwd = process.cwd(), args) {
return findPkg(cwd, args).then(path => {
if (!path) return;
hexo.base_dir = path;
return loadModule(path, args).catch(() => {
log.error('Local hexo not found in %s', chalk.magenta(tildify(path)));
log.error('Try running: \'npm install hexo --save\'');
throw new HexoNotFoundError();
});
}).then(mod => {
if (mod) hexo = mod;
log = hexo.log;
function loadModule(path, args) {
return Promise.try(() => {
const modulePath = resolve.sync('hexo', { basedir: path });
const Hexo = require(modulePath);
return new Hexo(path, args);
});
}
module.exports = entry;
|
之后回到我们自己的博客项目,找到 hexo 模块的的 main 入口文件
修改 blog/node_modules/hexo/lib/hexo/index.js
每次生成后的 html 文件名称要始终要保持一致,并且不能与其他生成文件名称产生冲突,所以我决定使用 source/_posts 下 md 文件中 date 属性 format(YYYYMMDDHHmmss) 后的字符串作为 html 文件名称。
1
2
3
4
5
6
7
8
9
10
11
| ---
title: Hexo 之 Html 重命名
date: 2019-10-23 20:10:17
tags:
- Fork
- Code
categories: Hexo
keywords:
- hexo
- hexo rename
---
|
当然,大家可以按照自己的规则去生成 html 的文件名称,前提是需要有一个唯一标识,每次都能够拿到这个唯一标识,并且每次进行同样计算可以得到唯一结果。
1
2
3
4
5
6
7
8
9
10
11
12
13
14
15
16
17
18
19
20
21
22
23
24
25
26
27
28
29
30
31
32
33
34
35
36
37
| 'use strict';
const Promise = require('bluebird');
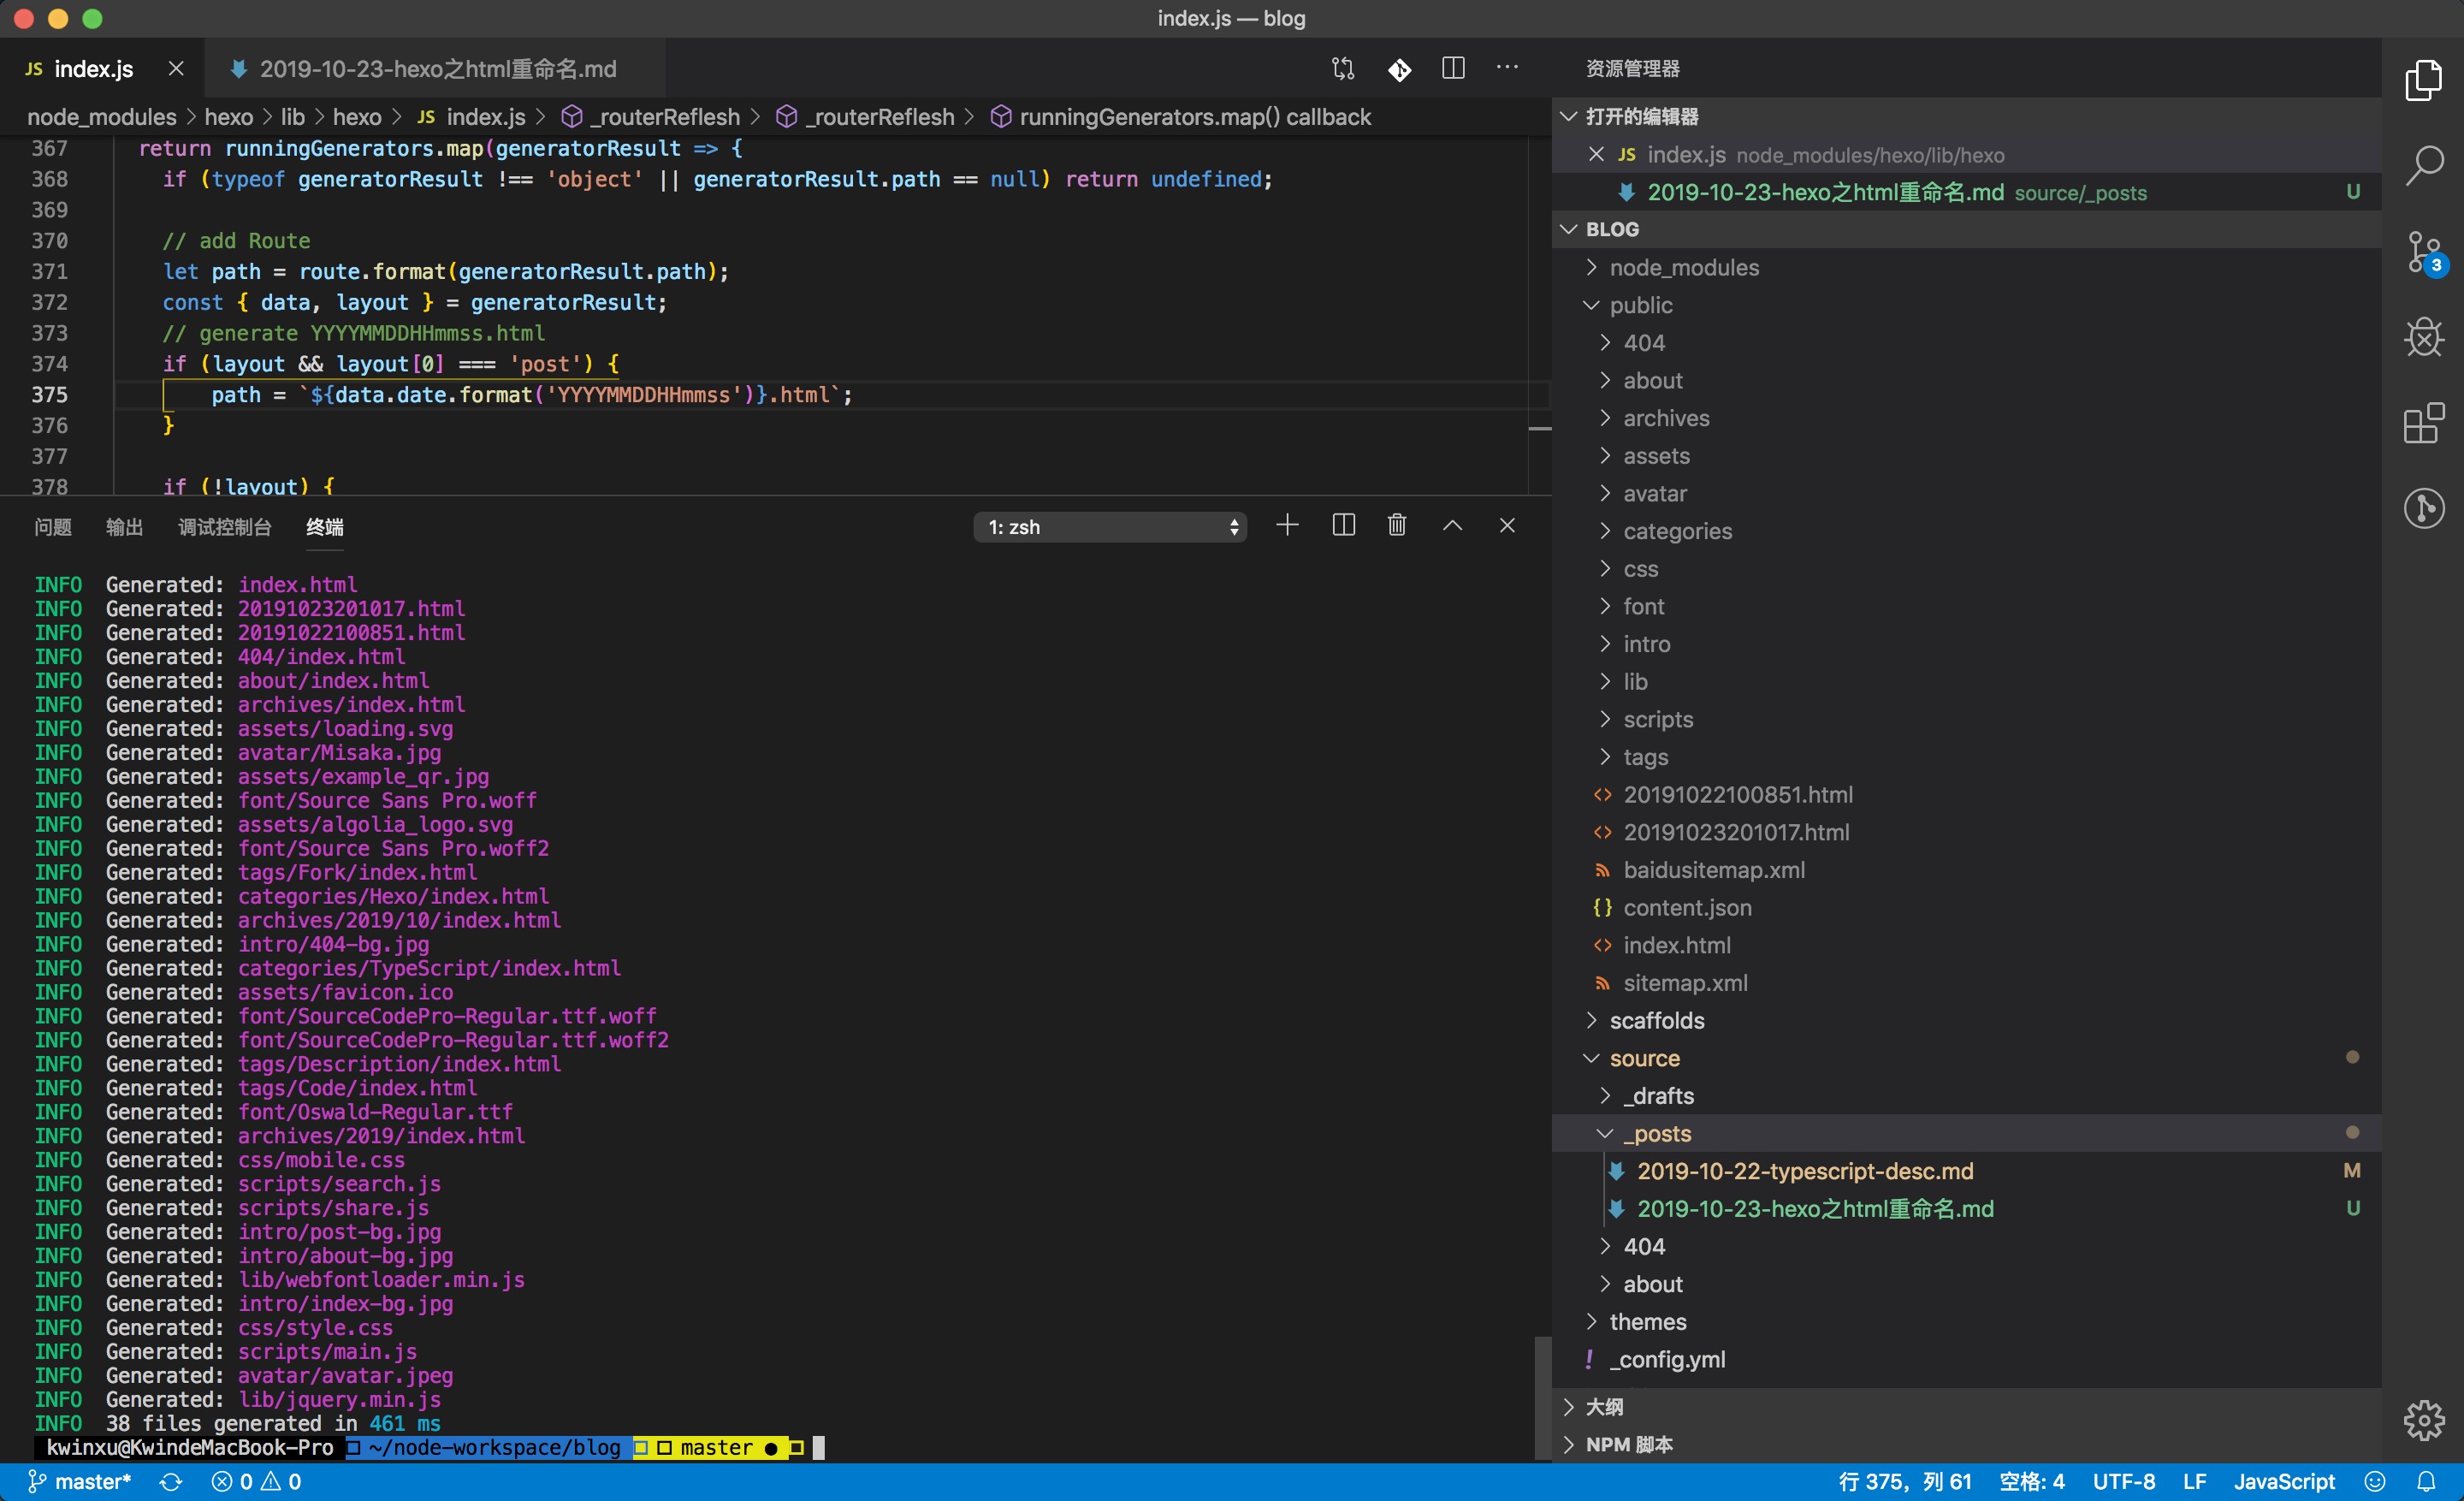
Hexo.prototype._routerReflesh = function(runningGenerators, useCache) {
const { route } = this;
const routeList = route.list();
const Locals = this._generateLocals();
Locals.prototype.cache = useCache;
return runningGenerators.map(generatorResult => {
if (typeof generatorResult !== 'object' || generatorResult.path == null) return undefined;
let path = route.format(generatorResult.path);
const { data, layout } = generatorResult;
if (layout && layout[0] === 'post') {
path = `${data.date.format('YYYYMMDDHHmmss')}.html`;
}
if (!layout) {
route.set(path, data);
return path;
}
module.exports = Hexo;
|
这样,我们再次执行 hexo generate 就可以生成按照我们规则定义名称的 html 了
使页面串联
通过hexo generate我们可以看到已经生成我们想要的 html 文件名称,但public/index.html、archiives、tags中所有链接的href属性目前还是以往规则生成的页面名称,现在我们需要对渲染模板进行修改。
首页
themes/archer/layout/index.ejs
1
2
3
4
5
6
7
8
9
10
11
12
|
<% _content = truncateLength === 0 ? null : truncate(strip_html(_post.content), {length: truncateLength, omission: '...'})%>
<% } %>
<article class="index-post">
<a class="abstract-title" href = "<%- url_for(_post.date.format('YYYYMMDDHHmmss')) %>.html" >
<% if(_post.top) { %>
<span class="stick-top iconfont-archer"></span>
<% } %>
|
Archives
themes/archer/layout/_partial/sidebar/sidebar-archives.ejs
1
2
3
4
5
6
7
8
9
10
11
12
13
14
15
16
17
18
19
20
21
22
23
24
25
26
27
28
29
30
31
32
33
34
35
36
37
| <div class="sidebar-panel-archives">
<% var resortAllPosts = site.posts.map(function (item) { %>
<% let title = item.title; %>
<% let link = date(item.date, "YYYYMMDDHHmmss") + ".html"; %>
<% let _date = date(item.date, "YYYY-MM-DD HH:MM:SS"); %>
<% let returnDate = {
title : title,
link : link,
date : _date }; %>
<% return returnDate; %>
<% }) %>
<% currPagePosts.forEach(function (post) { %>
<% if (showYear != Number(date(post.date, "YYYY"))) { %>
<% showYear = date(post.date, "YYYY"); %>
<% if (toCloseUl === 1) { %>
<% toCloseUl = 0; %>
</ul>
<% } %>
<div class="archive-year"> <%= showYear %> </div>
<ul class="year-list">
<% toCloseUl = 1; %>
<% } %>
<li class="archive-post-item">
<span class="archive-post-date"><%- date(post.date, "MM/DD") %></span><a class="archive-post-title" href= "<%- post.link %>" ><%- post.title || '[Untitled Post]' %></a>
</li>
<% }) %>
</div>
</div>
|
themes/archer/src/js/tag.js
1
2
3
4
5
6
7
8
9
10
11
12
13
14
15
16
17
18
19
20
21
|
let $aItem = $(
'<a class="meta-post-title" href="' +
siteMeta.root +
postInfo.path +
'">' +
archerUtil.dateFormater(
new Date(Date.parse(postInfo.date)),
'yyyy/MM/dd'
) +
'.html">' +
postInfo.title +
'</a>'
)
|
Post
themes/archer/layout/post.ejs
1
2
3
4
5
6
7
8
9
10
11
12
13
14
15
16
17
18
19
|
<% if(theme.copyright.enable === true && page.copyright !== false) { %>
<div class="license-wrapper">
<p><%- __('author') %>:<a href="<%- config.url %>"><%- config.author %></a>
<p>原文链接:<a href="/<%- page.date.format('YYYYMMDDHHmmss') %>.html"><%- (page.date).format('MMMM Do YYYY, h:mm:ss a') %></a>
<p>发表日期:<a href="/<%- page.date.format('YYYYMMDDHHmmss') %>.html"><%- (page.date).format('MMMM Do YYYY, h:mm:ss a') %></a>
<p>更新日期:<a href="/<%- page.date.format('YYYYMMDDHHmmss') %>.html"><%- (page.updated).format('MMMM Do YYYY, h:mm:ss a') %></a>
<p>版权声明:<%- theme.copyright.license %></p>
</div>
<% } %>
|
需要注意下,我使用的 theme 是 Archer,每个 theme 使用的引擎模版也可能不尽相同, Archer 使用的是 EJS 模板引擎,我不能保证其他 theme 所需要修改的代码是上面我所说的。不过大体思路是修改首页、Archives、Tags、每篇博客 中会出现的文章链接。
最后
完成上面的修改后,我们就可以运行我们的博客,来体验下整齐 URL 所带来的舒爽感了。
因为我修改了 Hexo 框架的源代码,也使用了 Jenkins + Github 来做博客的部署工作(你要问我为什么不使用官方推荐的部署方式,那是因为想熟悉下 Jekins,哈哈),所以我 Fork 了 Hexo,我依赖的是修改之后的 Hexo。
接下来的话,我可能考虑再弄一下 Sitemap,Google 的和 Baidu 的,同样,我应该也要 Fork 她们。
拜~